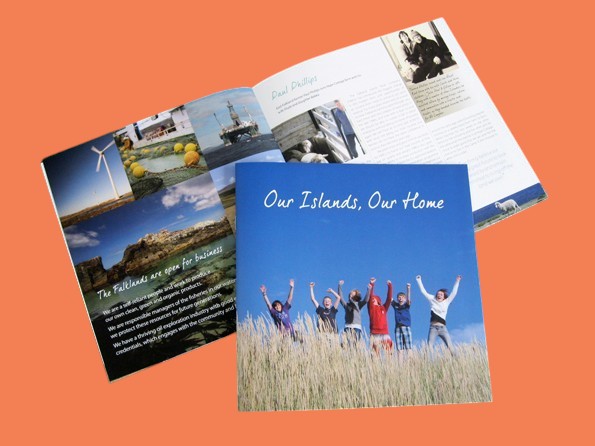


Simply put, a brochure is made from several sheets of paper laid on top of each other, stapled (also known as stitched or saddle stitched) and trimmed to the correct finished size.
Creating your artwork for a brochure might seem tricky, but it really isn’t as we do all the hard work in terms of getting the pages laid out in the correct order for printing. This is called 'printers pairs' and you really don't want to attempt to do that yourself!
We prefer that you supply the artwork for your brochure as separate pages – ideally in sequential order and saved as one PDF file, but don’t worry if you can only create and save your artwork one page at a time.
All we need from you is the artwork for the cover and the inner pages, named/numbered in such a way that it is clear what goes where – for example, inside front cover, outside back cover, page 3, 4, 5 etc
If you creating the artwork yourself remember to set the resolution to 300dpi, to design in CMYK and to include the 3mm bleed on all the edges. This also applies to all the text pages, even when the edge is going to be the central fold where the staple goes. We impose the files over each other to ensure that there is a seamless overlap and the page has continuous print across it. Have a look at our templates page for PDF and InDesign layouts showing the bleed and safe print area.
If your brochure is going to be finished size A4 all you need do is download an A4 product template and create your brochure artwork one page at a time using this template. Exactly the same process for A5, DL, A6 and Square etc.
A top tip is to keep any important areas of print at least 5-7mm away from the edge of the page (unless you have an image bleeding off the page!). Likewise, remember that the centre crease of your brochure is going to have staples in it and for easy reading keep your text at least 10mm away from that central area.
We always send you a PDF proof of your brochure to check and approve before we go ahead with printing it.

It is always worth including additional information when it comes to any type of printing – after all, not everyone is an expert! Here are our top three tips:-
Getting the Numbers Right
The number of pages in a brochure, including the cover, must be equally divisible by four. Even if the cover is plain on the inside front and back it still counts as pages. Why is this? If you fold a piece of paper in half and look at it there are two panels on the front and two panels on the back – so four pages. Essentially, this is exactly how brochure printing works! If you find you have an odd number of pages after finishing your design that is not a major disaster, simply insert a blank page somewhere (normally one of the inside covers) or ask us to do it for you.
Spinal Crack
We always pre-crease the spine on brochure covers weighing above 150gsm before stapling as this prevents cracking on the spine. However occasionally there may be some cracking and if there is area of print on the spine you might see white fibres showing through, particularly if the ink is dark. If in doubt opt for no print, lighter colours or a laminated cover.
Getting a Spring in your Book
Simply put, the more pages you add the more the brochure is going to want to spring open. If you need a brochure that is above 60 pages it might be best to consider our perfect binding style rather than stapling. Another spring issue is the weight of the paper – the heavier it is the more it wants to show-off by pinging open.
As always, we are here on hand to help with any questions or queries you might have. Give us a call on 01903 742003 and we will be happy to help.